Once you complete the sign up steps you will be prompted to the QuickPBX configuration wizard. The first thing you will need to set up is your main greeting. QuickPBX comes with the following default main greeting:
Thank you for calling. If know your party's extension you can enter it any time. For sales press 1, for support press 2, to speak with a representative press 0.
But you can type your own greeting as seen below and an automated voice will announce the script you write.
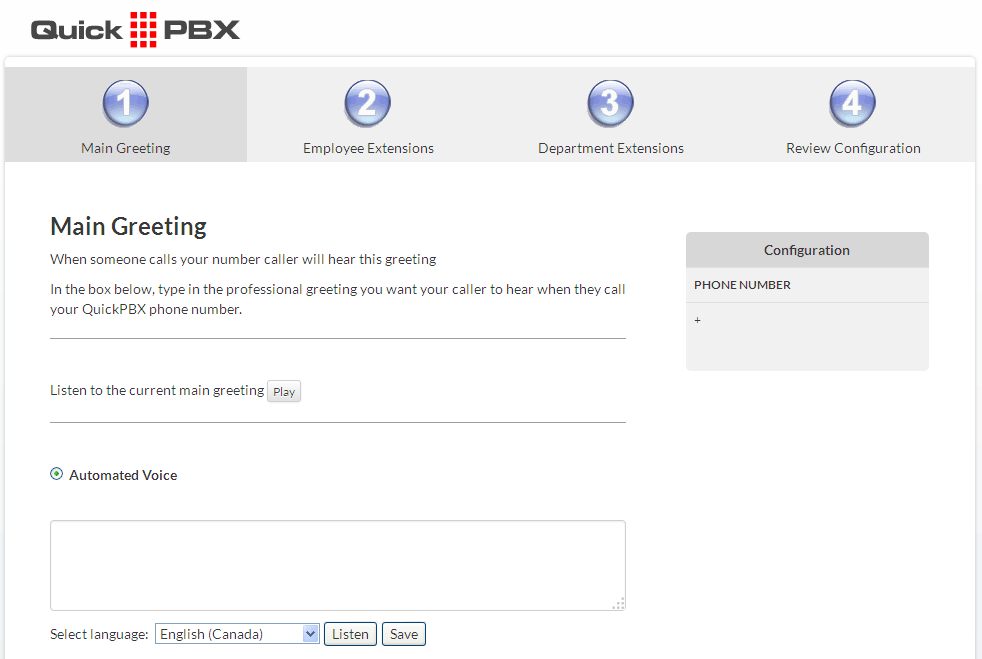
You can also upload an existing MP3 file or request a studio-recorded greeting for an additional charge of $50.

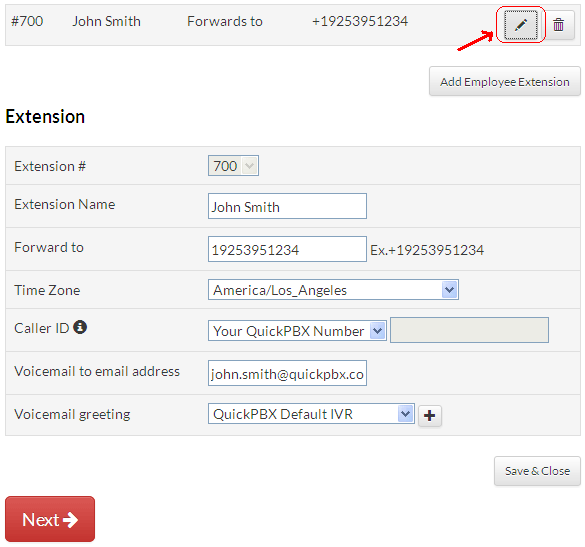
After you setup your greeting, you will be prompted to configure your extensions. QuickPBX offers two different type of extensions: the three-digit extensions for Employees and the single-digit extensions for Departments. First, you will configure the Employee Extensions. One default Employee Extension is already created. You can modify/add more employee extensions or you can delete these extensions and skip this section. To modify the default extension, you should click on the Edit button. You will then be able to modify the Extension Name, the Forward to number, the Time Zone, the Caller ID information which is how you want to see incoming numbers on your mobile phone, the email Address where voicemails should be forwarded and the voicemail greeting.
Next, you will be able to configure your department extensions. 3 default department extensions are already created for your convenience. You can modify/add more department extensions or you can delete these extensions.

Finally, a summary of your configuration will be displayed where you can either finish setup or edit the settings again to make more changes if needed.
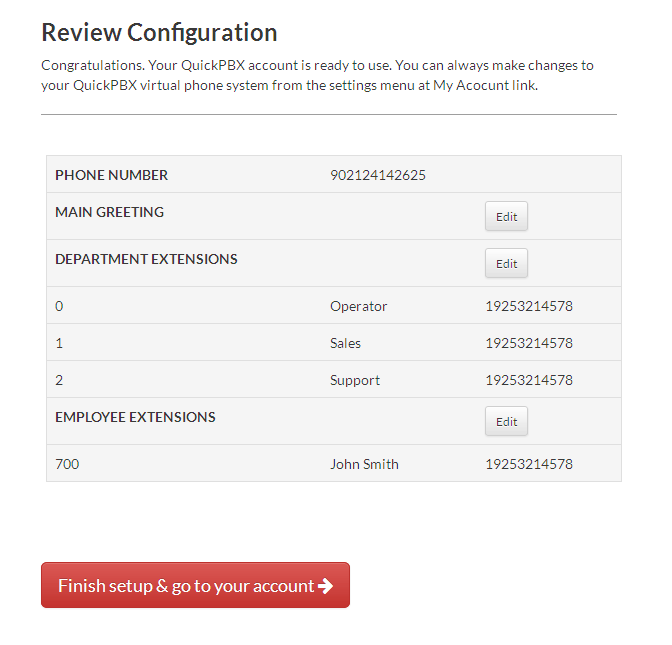
You can always make changes to your QuickPBX virtual phone system from the settings menu at My Account link.